Before 7 a.m.: read the governing station, not the forecast app
Every superintendent has a weather app on their phone. But when it comes to rain delay documentation, the app's forecast does not matter, what matters is the official weather station record for your project's location. Courts, owners, and schedulers look for the data from the nearest National Weather Service station, or sometimes, a specific site-based sensor named in the contract.
Pull up the hourly precipitation totals for the closest official station, not the forecast or radar map. Print or save the hourly log. If the contract specifies a particular sensor or network, stick to that. Many jobs require the use of the same reference for every claim. Consistency matters more than convenience.
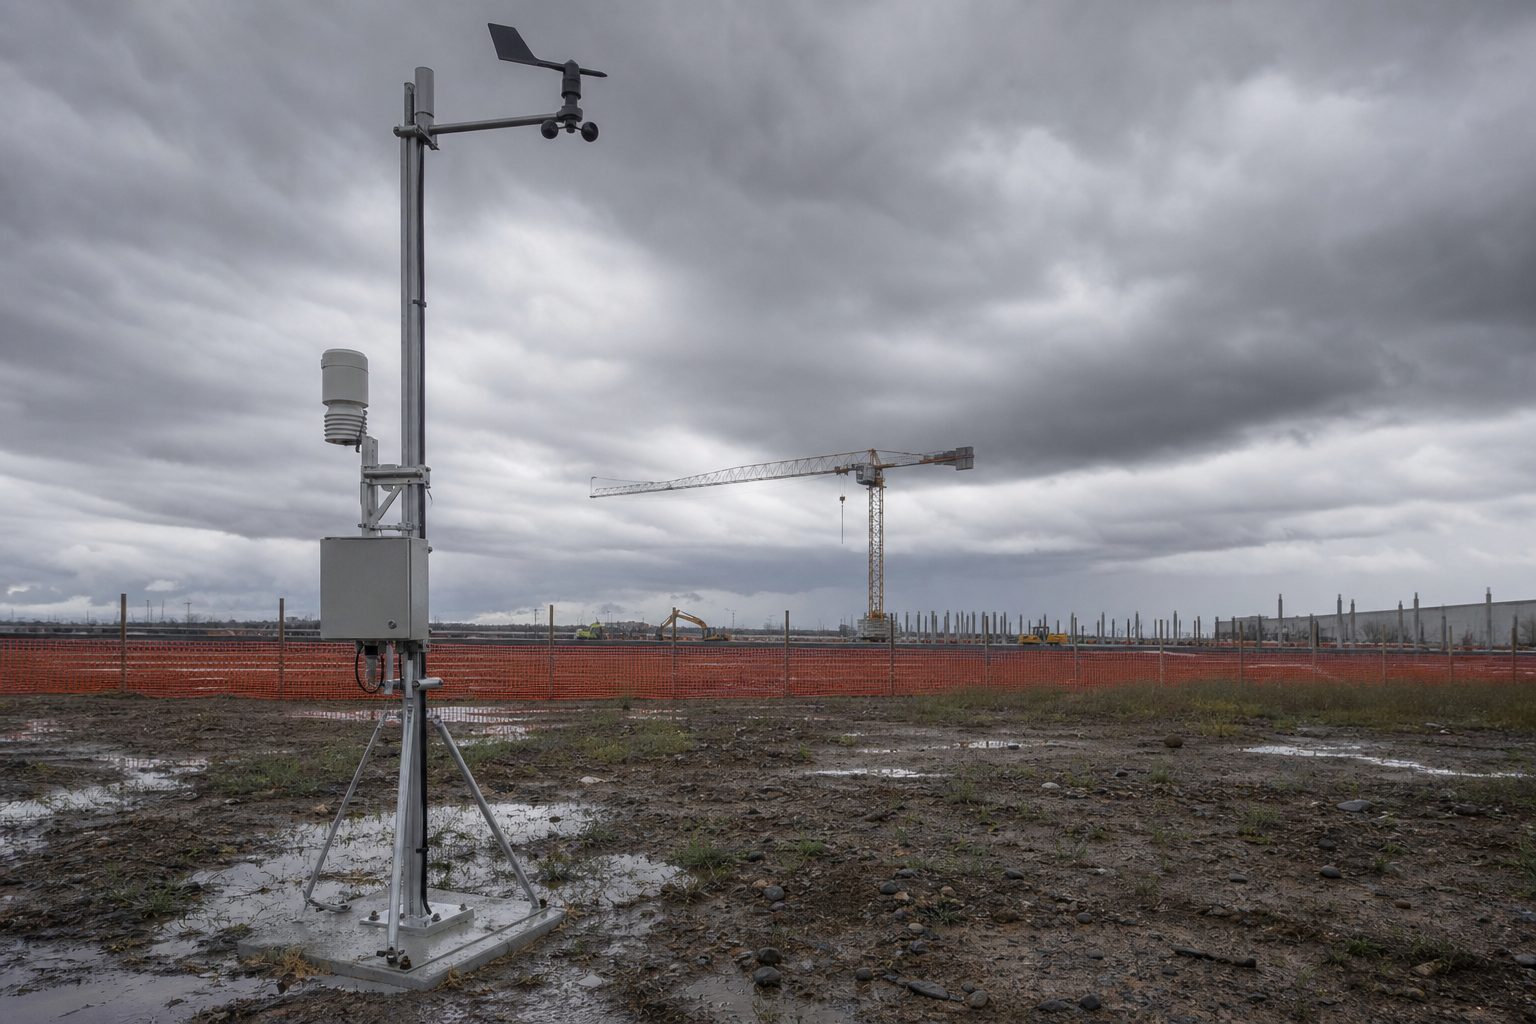
If your project uses a site-installed weather station, download the actual readings before you leave the site. Sometimes, data can be overwritten or lost if left uncollected. The key is to have a timestamped record from a trusted source that will stand up under scrutiny.
Keep reading: Setting a Baseline Weather Day Allowance From NOAA Normals
Confirm which threshold rule the reading actually crossed
Not every rain event qualifies for a lost day. Each contract specifies limits: a certain amount of rainfall in a set period, or a minimum duration of precipitation. Before making the call to stand down the crew, check the numbers. Did the site actually hit the contract's delay threshold?
Some contracts say half an inch in 24 hours. Others call for "no work" if rain falls for more than four consecutive daytime hours. Know what your contract says. Write down the rule you are applying, and back it up with the weather station log. When the claim comes up months later, your note will be the difference between a paid day and a denied one.
Know the trade numbers: concrete, steel erection, roofing and earthwork
Some trades are more weather-sensitive than others. Concrete placement has strict limits, standing water in forms or mud on subgrade means no pour. Steel erection may halt for high winds, but can sometimes work through light rain. Roofing is a hard stop when deck surfaces are wet. Earthwork depends on the soil: clay holds water longer than sand, and access roads can be impassable after only a short storm.
List which crews were scheduled for weather-dependent tasks. Note which trades could have worked but were held by the wet site. For example, if only the earthwork crew is affected but interior finishers are inside, record that distinction. Down the line, this helps prevent disputes about which work was actually delayed.
If you are working with specialty subcontractors, such as waterproofing or fireproofing, check their task requirements. Some materials cannot be installed below a certain temperature or when humidity is high. Write down the trade, the planned task, and the weather impact in plain terms.
Keep reading: How a Florida Patient Tower Got 31 of 34 Weather Days Approved
Photograph standing water, subgrade condition and blocked work areas
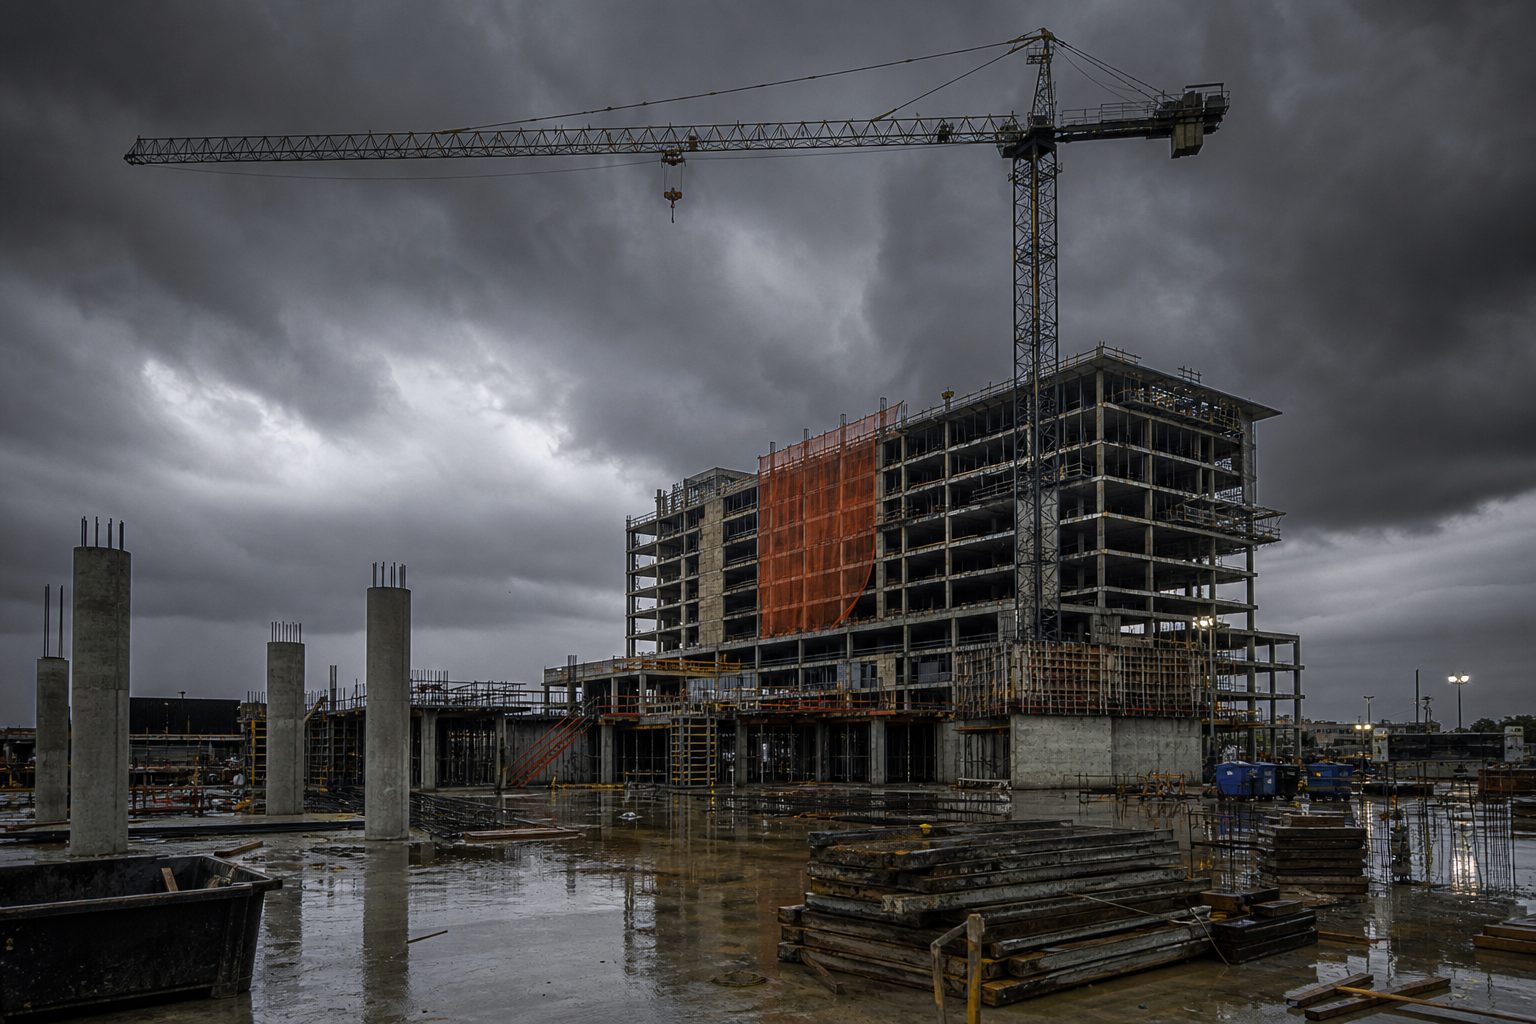
Cell phone photos are still the gold standard for documenting wet site conditions. Take wide shots of the entire area, then close-ups of puddles, muddy ruts, or filled trenches. If portable pumps are running, show them in place and operating.
Photograph the actual workface: the slab that cannot be poured, the steel that cannot be placed, or the deck that remains uncovered. Show blocked access routes, mud on equipment tires, and any safety hazards made worse by the rain. For subgrade, use a tape measure or marked stick to show depth of standing water or mud.
Email or upload the photos to a secure location before leaving the site. Do not rely on your phone's memory alone. If you use a site log app or cloud drive, label the images with the date and trade. Photos carry more weight when they are timestamped and organized.
Record crew headcount by trade and exactly who was sent home
Write down the number of workers on site for each trade at the time of the shutdown. Note who reported to the gate, who was on standby, and who was sent home. Use sign-in sheets, digital check-ins, or a crew list. Accurate headcounts matter for payroll, insurance, and future claims.
Some contracts allow for partial crew retention or standby pay. If part of a crew stayed to clean up, secure materials, or work inside, record which individuals remained and what they did. Note the time each person left the site. This prevents disputes over who is owed what.
Double-check with foremen or crew leads to make sure the list is correct. If a trade was scheduled but did not show up due to advance notice of rain, document that too. Owner's reps often question why certain trades were not present, so a written record avoids confusion.
See how RainDelayLog handles this for commercial construction
Log idle equipment with hours and rental status
Idle equipment costs add up fast. List every machine that was scheduled to run, including excavators, lifts, pumps, generators, and cranes. For each, note if it was owned or rented, and the rental rate if known. Record the hour meter reading or time of shutdown.
If you have rental equipment on site, check the terms for weather standby clauses. Some rental agreements allow for weather days without charge, but only if reported the same day. Write down the make, model, and serial number of each idle machine. Take photos showing muddy conditions or blocked access, just as you did for the work areas.
If pumps or generators were left running to control water, record their operating hours. Owners and adjusters will want to know what was idled versus what was kept running for site protection.
List the scheduled activities that took the hit, by activity ID
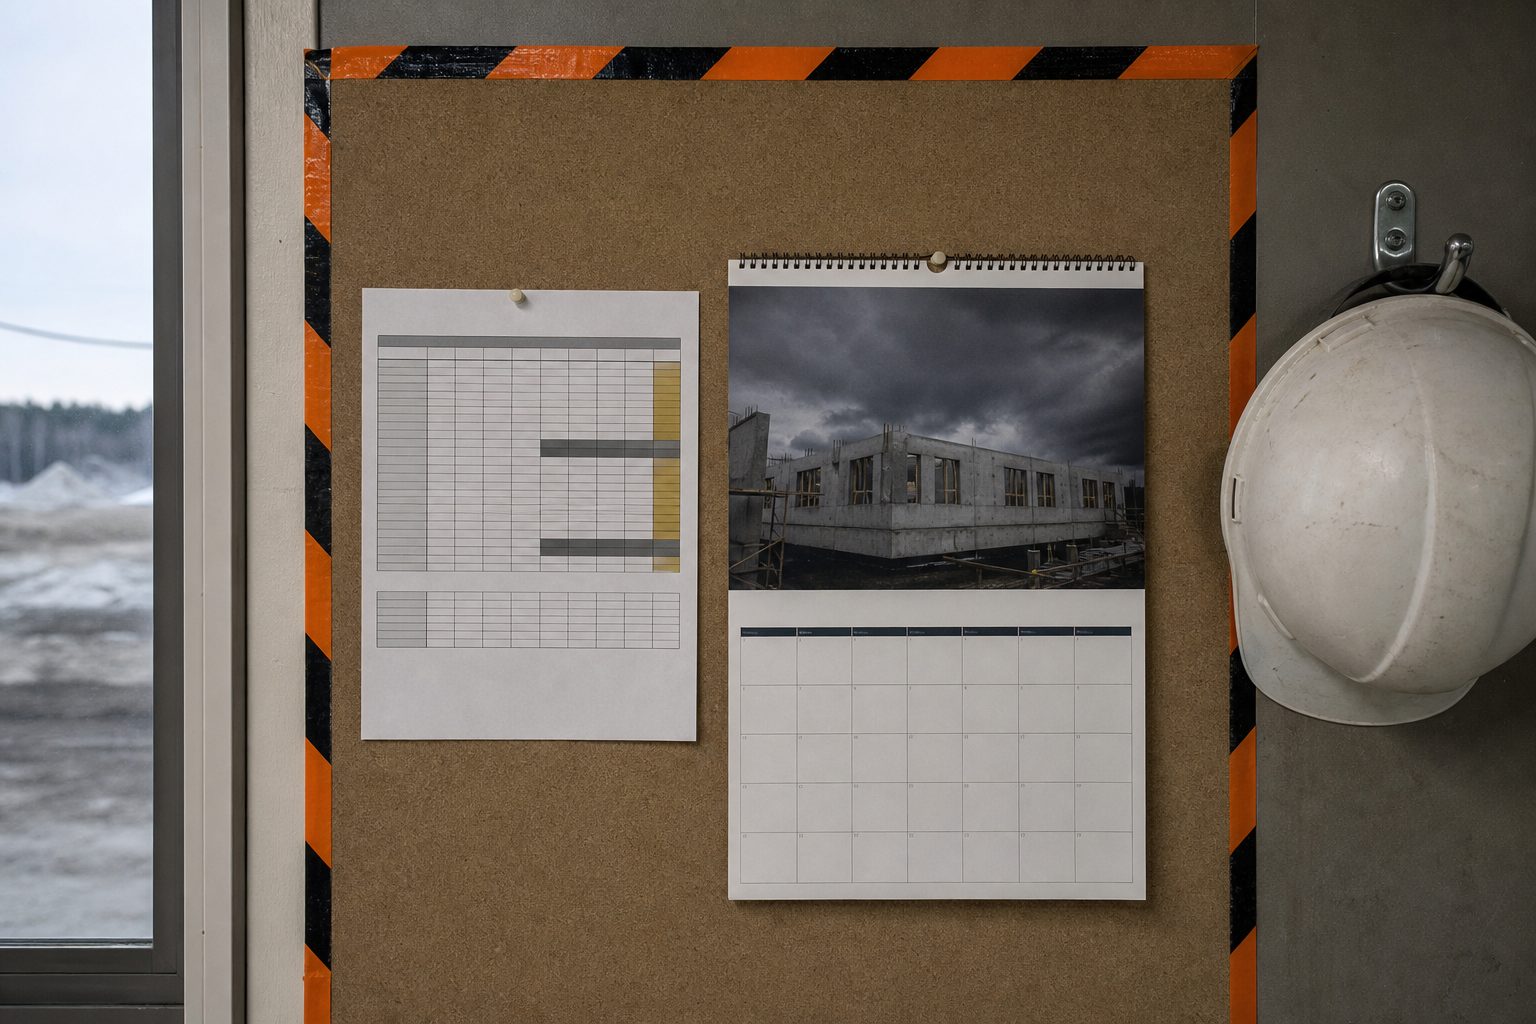
Go through the daily schedule and write down each activity delayed by the rain. Use the activity IDs from the project schedule or CPM (critical path method) chart. This connects your delay documentation directly to the project timeline.
For each affected activity, note the planned start time, the trade, and the nature of the work. If several activities were linked, such as earthwork followed by formwork, document the knock-on effect. Owners and schedulers will look for specific links between weather events and delayed milestones.
If you use scheduling software, export a copy of the planned tasks for the day. Attach your notes about which activities were stopped. The more specific you are, the easier it is to prove the impact later.
Get the foreman signature and start the notice clock the same morning
Before you leave the site, have the foreman or trade lead sign off on the day's log. This can be a paper form, digital signature, or even a confirmation email. The key is to show agreement on site conditions and who was present.
Many contracts require that notice of a delay be sent to the owner, architect, or construction manager within a set window, sometimes as little as 24 hours. Starting the clock means sending a written notice, with your documentation attached, as soon as possible. Do not wait for the end of the week or rely on memory.
If you use a site log tool with built-in notice templates, fill them out while the evidence is fresh. The closer your documentation matches the actual event, the stronger your case for excusable weather delay.
A thorough rain delay documentation checklist protects both the schedule and the record. When every step is recorded before leaving the gate, even the worst weather day can be accounted for. Tools like RainDelayLog, which capture weather data automatically and package daily logs for delay claims, can save hours and reduce the risk of missed details.