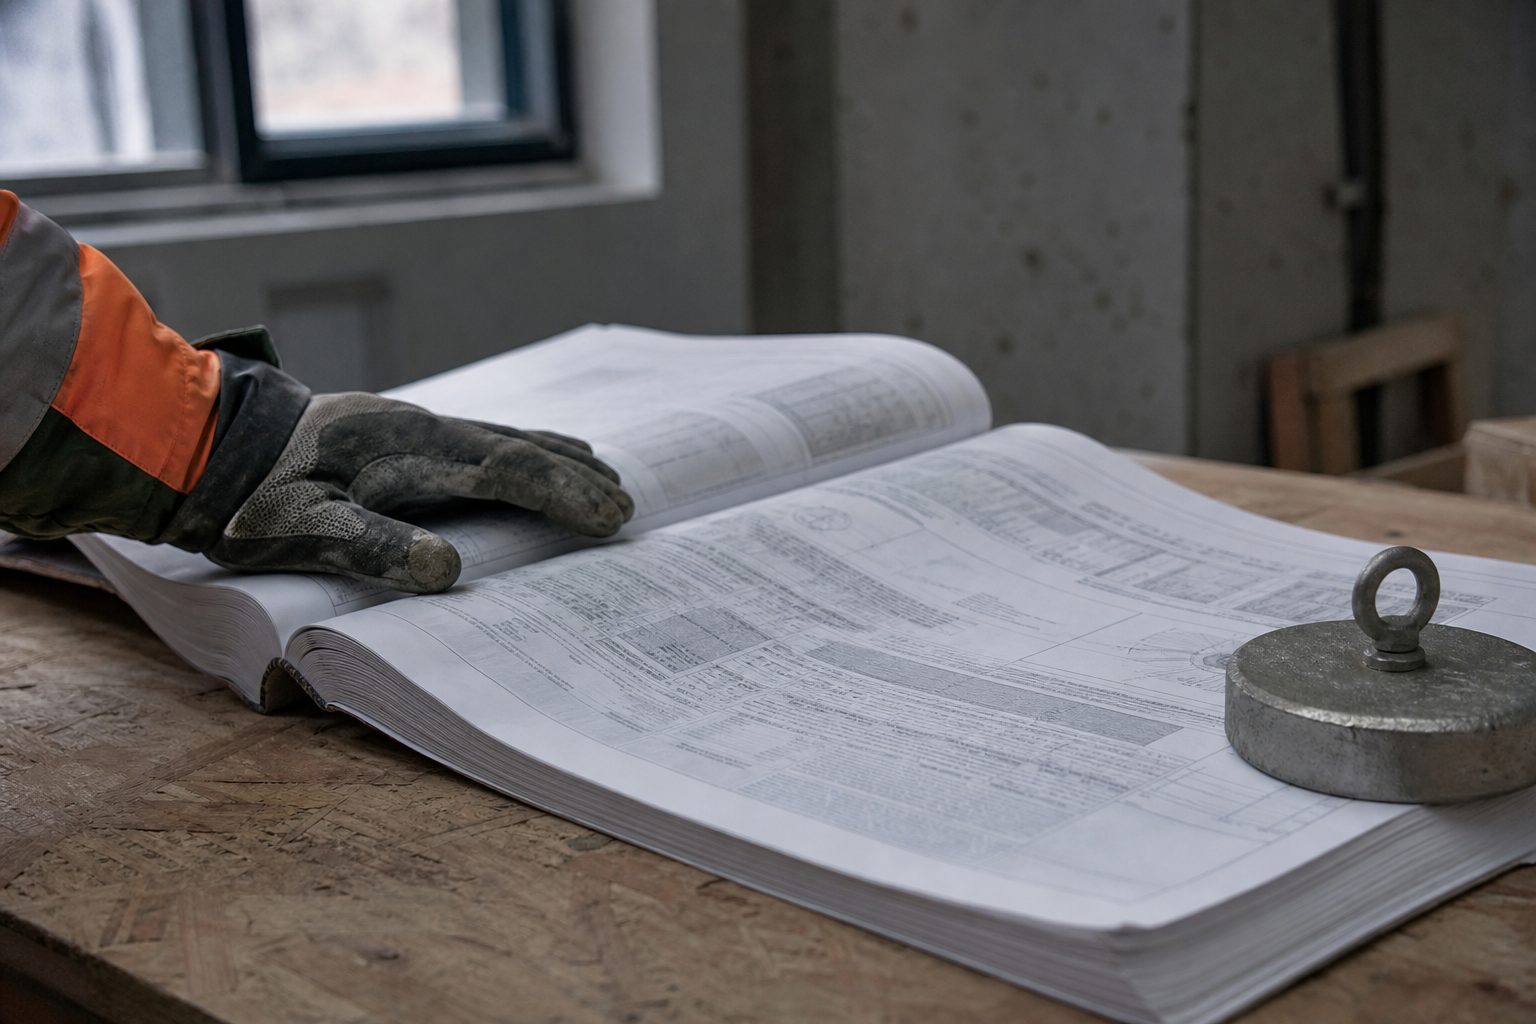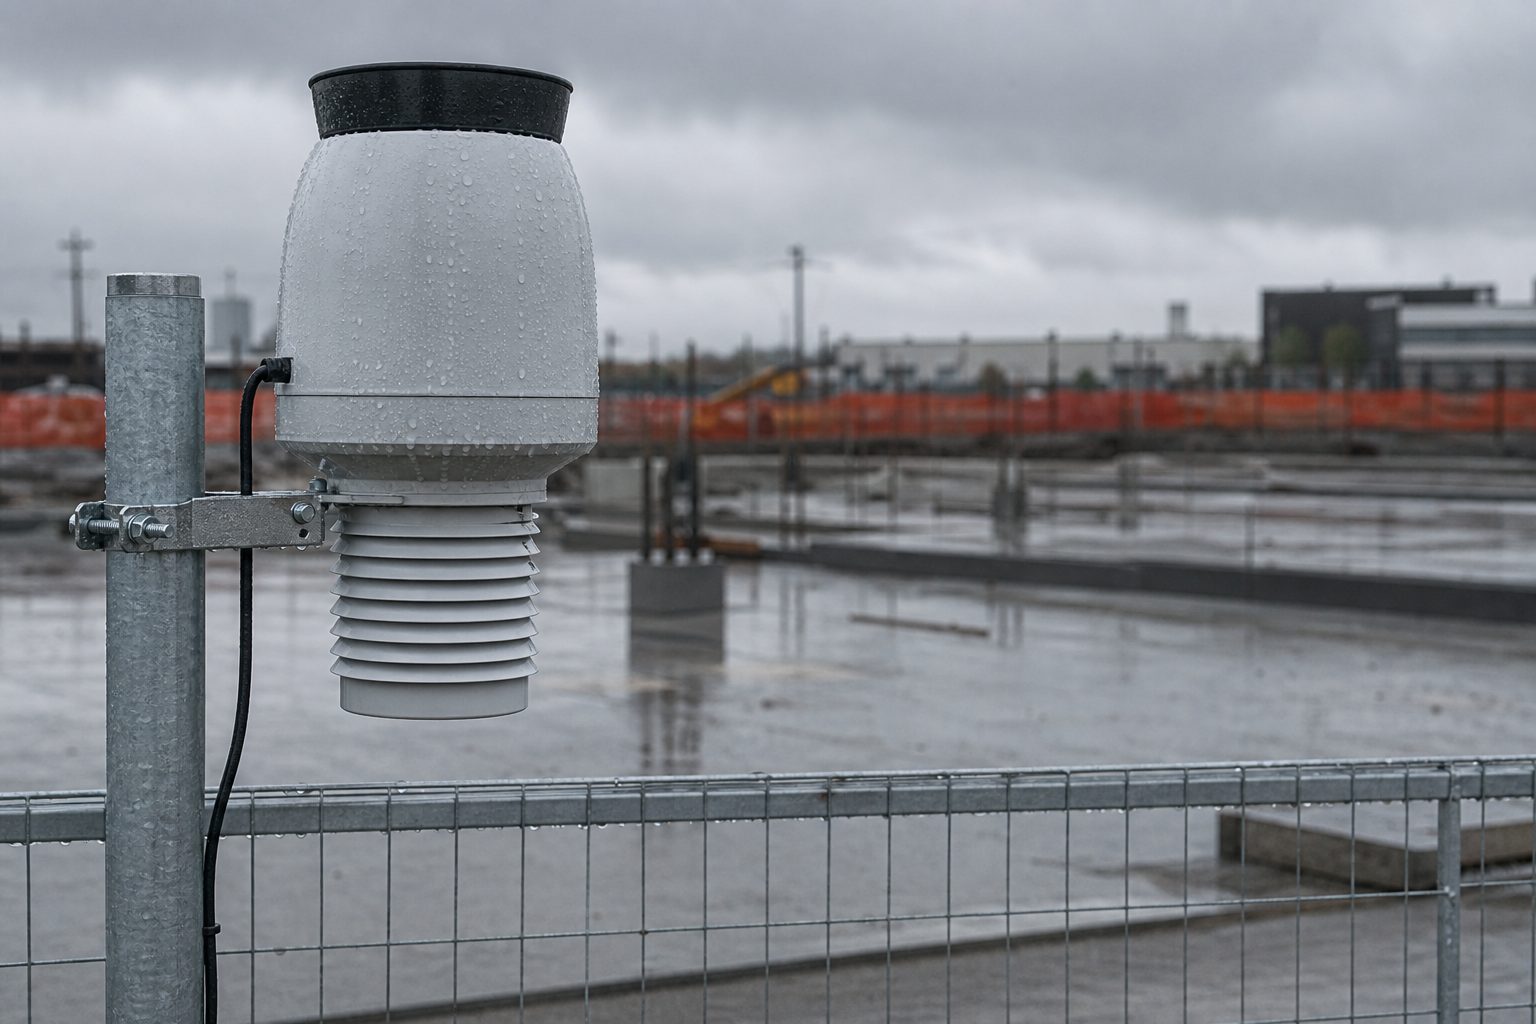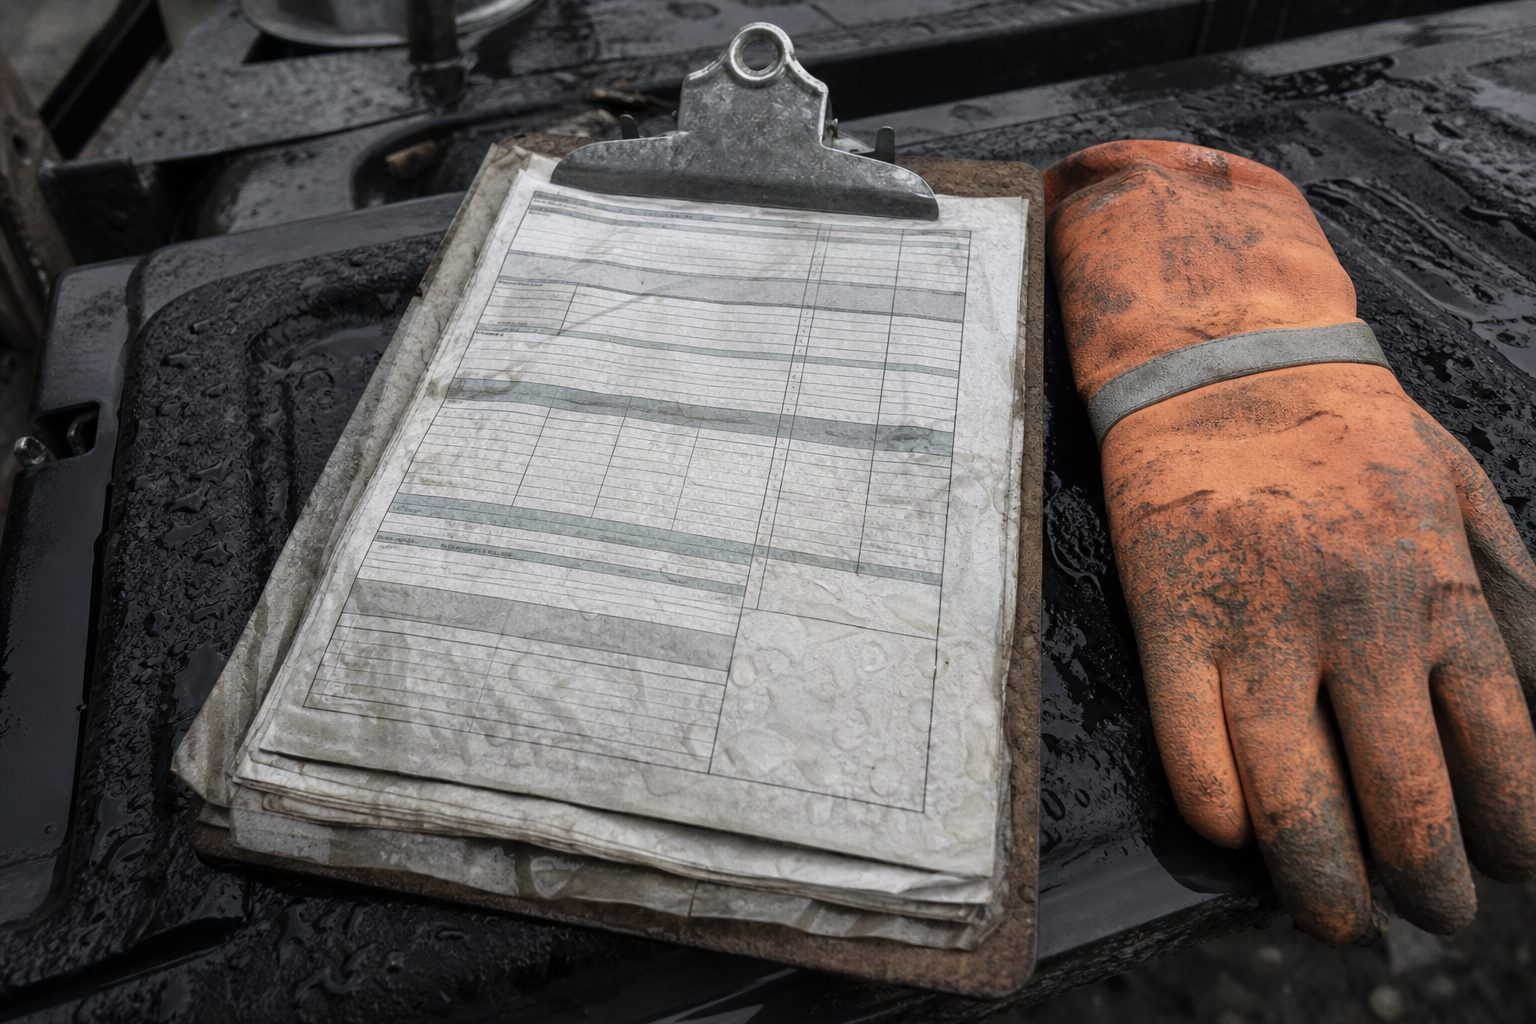
What the reviewer opens first, and why section order matters
No one who reads a weather delay claim was on the job site the day rain stopped your crews. The reviewer might be an owner's representative, a claims consultant, or a senior scheduler at the GC's office. Their first job is to check whether the submission looks organized and credible. If the claim package is in the order reviewers expect, with labeled sections and clear exhibits, you shorten the time to a decision. If the stack is out of order, missing signatures, or jumps between dates, the reviewer will dig for gaps, and often requests more information.
A well-assembled claim tells a story: here is what happened, here is how it affected us, here is how we documented every step. The sections should flow from the initial notice, through daily evidence, to the schedule impact and the weather data that support your case. A logical order saves everyone time and makes it harder for a reviewer to brush off your claim.
Keep reading: Weather Delay Notice Rules in AIA A201, ConsensusDocs and FAR
The notice letter and proof of the date it was served
The claim always starts with the notice letter. Most contracts require written notice of delay within a set period, sometimes within 24 or 48 hours after the event. The reviewer checks first for timely notice. If it is late or missing, many contracts allow the owner to reject the claim immediately.
The notice letter should include the project name, contract number, date of the event, and a clear statement that work was delayed due to weather. It is not enough to say "rain delay." The letter should specify the date, the weather event, and which activities were affected. Attach a copy of the sent notice. If it was emailed, include the sent email with timestamp and recipient addresses. If served by hand, attach a delivery receipt signed by the recipient. For certified mail, include the postal receipt and signature card.
Some shops keep a log of all notice submissions. A screen capture from a project management platform showing the message and timestamp can also serve as proof. The goal is to show the notice went to the right person on time, with no chance the owner can say they never received it.
Hourly station observations for every claimed day
Once you have established that you gave timely notice, the reviewer turns to the question: was the weather event real, and did it actually happen on the day you claim? This is where hourly weather station data comes in. Most project specs require you to use the nearest NOAA, FAA, or other recognized station. The reviewer wants to see hourly, or at least three-hourly, observations for each day you claim was affected.
Do not just submit a monthly or daily summary. Pull the exact station data for your zip code, showing precipitation, temperature, wind, or whatever conditions triggered the delay. Highlight or annotate the periods when conditions exceeded what your contract allows for safe work. For example, if your work cannot proceed in rain, circle the hours when precipitation was recorded, and note the total rainfall.
This section should include the source of the data, the station name or code, and a map or distance statement showing its proximity to your site. A reviewer will check that you did not cherry-pick a distant or unrepresentative station. Organize the data in chronological order for each day.
Signed daily reports with crew headcount and idle equipment hours
The next section ties the weather event to the actual loss of productive time. Reviewers expect to see daily reports, signed by a foreman or superintendent, that record which crews and equipment were scheduled, who arrived, and what work was planned. These reports show not just that rain fell, but that you were ready to work and were prevented from doing so.
Each daily report should list the date, weather observed at the site, number of workers by trade, equipment on site, and hours worked or idle. The most credible claims show both the scheduled hours and the actual hours completed before work stopped. Idle equipment hours should be broken down by machine and task. If a crane sat unused from 10:00 a.m. due to lightning, note both the time and the reason.
Signed reports matter. An unsigned report can be challenged as hearsay. Many reviewers look for initials or signatures from both the contractor and the owner's representative, if possible. If your process uses digital forms, make sure the signature field is included and that the report logs a submission timestamp.
Keep reading: Weather Data for Delay Claims: ASOS, Site Gauges and NOAA Records
Geotagged photographs tied to the entry they belong to
Photographs can make or break a weather delay claim. They show the actual site conditions at the time of the delay. The reviewer looks for clear, date-stamped images that match the daily reports and the weather data.
Best practice is to include photos taken at the site, showing standing water, muddy access roads, or equipment unable to move. The most credible photos are geotagged, with embedded GPS coordinates and timestamps. This proves the image was taken on your site, not pulled from a stock library or another project.
Each photo should be labeled with the date, time, and location. Tie each image to the daily report entry it supports. For example, a photo of flooded formwork should reference the pour that was scheduled that day. Many reviewers have seen claims fall apart because the photos were blurry, undated, or clearly taken before or after the claimed event.
If your crew uses phones or tablets with automatic geotagging, export the images with the metadata visible. If not, include a site map with camera locations marked, and get the photographer to sign off on the images. The goal is to remove any doubt about the time and place.
Affected activity IDs and the schedule fragnet that shows the impact
A weather delay claim is not just about lost hours. It must show how the weather event affected the project's critical path. This means linking each claimed day to the specific activity IDs in your baseline or current schedule, and showing how the delay pushed back the project completion.
Activity IDs
List the schedule activity IDs for all work impacted by the weather. These IDs should match the activities in your CPM (Critical Path Method) schedule and the scope described in your daily reports. For example, if rain delayed slab pours, reference the exact IDs for concrete placement and related tasks. Include a brief narrative explaining how each activity was supposed to proceed and how weather prevented it.
Schedule Fragnet
A fragnet is a small piece of the project schedule, showing only the activities directly affected by the delay and their logical relationships. The reviewer wants to see a before-and-after comparison. Include a printout or screenshot of the baseline fragnet, then overlay the delayed start or finish dates.
Annotate the fragnet with explanations: "Activity 3120, Steel Erection, delayed 2 days due to rain on June 12 and 13." If you use scheduling software, print the Gantt chart with affected activities highlighted. Some reviewers want to see total float calculations to prove the delay impacted the critical path, not just a non-critical activity.
This section should close with a statement of the total number of calendar days and workdays lost, tying the schedule delay to your contract's requirements for extensions or compensation.
See how RainDelayLog handles this for commercial construction
The normals comparison that answers the abnormal weather question
Most contracts do not grant time for every rainy day. They only allow claims for "abnormal" weather, conditions that exceed the averages for your location and time of year. The reviewer will expect a table or chart comparing the claimed weather event to the local historical normal.
To build this, gather at least ten years of historical data for the nearest weather station. Show the average number of rain days, snow days, or freeze days for the month in question. Then show the actual conditions for the claim period. For example, if February usually sees three days of rain, and your site had six, highlight this deviation.
Some claim packages include a bar chart or table, with one column for normal, one for actual, and a calculated difference. Annotate the data with the source and the years covered. Avoid cherry-picking years: use the standard period required by your contract or industry standard.
Address any contract-specific threshold. For example, if your contract allows only for delays beyond the average rain days, state clearly how many days exceeded the normal, and limit your claim to those. This prevents pushback and keeps your package focused.
Delivering the package and recording who received it and when
Once the package is complete, delivery becomes the last critical step. The reviewer wants proof that the claim was submitted according to contract requirements, both in method and in timing. Many contracts specify certified mail, courier, electronic submission through a project platform, or even hand delivery.
Include a transmittal letter listing all enclosures and the total number of pages. Stamp or sign each exhibit if required. Attach proof of delivery: a courier receipt, certified mail tracking, or a digital submission log showing upload date and recipient confirmation. If you submit through a project management system, export the submission log.
Record the name and title of the person who received the package. If possible, get a signed receipt. Keep a copy of the entire package with your own records, including all delivery documentation. This creates a clear chain of custody, making it difficult for anyone to claim they did not receive your claim or that it was incomplete.
A well-documented delivery process closes the loop. It makes your claim package defensible and reduces the risk of disputes about timing or completeness.
Closing: Bringing it all together with defensible documentation
A weather delay claim only succeeds when each section is supported by hard evidence, timely notice, precise weather data, signed daily reports, photos that tie to the day and location, a clear link to the critical path, and a careful comparison to historical norms. Each piece has to fit, or the reviewer will find the gap and send you back to start again.
Tools that automate daily site logs, capture weather data from stations nearest your site, and assemble defensible documentation packets can make this process less painful. They reduce the risk of missing a step and help ensure every claim stands up to review.